Build Node, Typescript and GraphQL server from scratch

A brief tutorial how to create a Node, TypeScript and GraphQL server from scratch with MySQL database. The ouput is a very basic GraphQL server, which you can run, send a simple query to it and get a response. The whole project is available on GitHub.
Requirements:
- Basic knowledge about JavaScript / TypeScript, Node, GraphQL and SQL
- Node 12+
- Database (example is using MySQL but there is no major problem to use any other database)
How is GraphQL query executed
- parse the string, throw error if syntax error
- validate the query against schema
- execute
- run query resolver which will return an object
- run field resolvers of the specific type by passing there the object from query resolver
Setup new project
Create a folder for your project:
mkdir graphql-example

# cd graphql-example
Install dependencies:
yarn init
yarn add express express-graphql graphql knex mysql2
yarn add --dev @types/node @types/express typescript

# or if you use npm
npm init
npm i express express-graphql graphql knex mysql2
npm i @types/node @types/express typescript --save-dev
Add scripts to package.json:
{
    "name": "graphql-example",
    "scripts": {
        "start": "tsc && node dist/index.js"
    }
}
Create a src folder where the source code will be:
mkdir src
Create src/config.ts file:
export default {
  port: 3010,
  database: {
    type: 'mysql',
    connection: {
      database : '<your database name>',
      host : '<your database host | localhost>',
      password : '',
      user : '',
    },
  },
};
Database layer
Create src/database.ts file where we initialize Knex database client:
import knex from 'knex';
import config from './config';

const database = knex({
  client: 'mysql2',
  ...config.database,
});

export default database;
We will load data from database using Repository Pattern and we start with Author entity. At the beginning it is enough to have just one method to load a specific author. Make directory src/repositories and src/repositories/AuthorRepository.ts file:
import { Author } from '../types';

export default interface AuthorRepository {
  get(id: number): Promise<Author>;
}
Now we need to implement this interface in repository that will use our Knex database client, src/repositories/AuthorKnexRepository.ts:
import AuthorRepository from './AuthorRepository';
import database from '../database';
import { Author } from '../types';

export default class AuthorKnexRepository implements AuthorRepository {

  async get(id: number): Promise<Author> {
    return database.select()
      .from('author')
      .where('id', id)
      .first();
  }
}
GraphQL Schema
GraphQL schema is a something like a definition of what you can use (types, enums, queries, mutations). Because in the first part of this tutorial we will work just with Author, it is enough to have just one type and query.
In src/schema/types/author.ts we define what attributes the Author entity has:
import {
  GraphQLID,
  GraphQLNonNull,
  GraphQLObjectType,
  GraphQLString,
  GraphQLInt,
} from 'graphql';
import { Author } from '../../types';

const author = new GraphQLObjectType({
  name: 'Author',
  fields: () => ({
    id: {
      type: GraphQLNonNull(GraphQLID),
      description: 'Globally unique ID of the author',
      resolve: (obj: Author): string => {
        return Buffer.from(`author-${obj.id}`).toString('base64');
      },
    },
    _id: {
      type: GraphQLNonNull(GraphQLID),
      description: 'Database ID of the author',
      resolve: (obj: Author): number => {
        return obj.id;
      },
    },
    firstName: {
      type: GraphQLNonNull(GraphQLString),
      description: 'Author\'s first name',
      resolve: (obj: Author): string => {
        return obj.firstName;
      },
    },
    lastName: {
      type: GraphQLNonNull(GraphQLString),
      description: 'Author\'s last name',
      resolve: (obj: Author): string => {
        return obj.lastName;
      },
    },
    createdAt: {
      type: GraphQLNonNull(GraphQLString),
      description: '',
      resolve: (obj: Author): string => {
        return obj.createdAt;
      },
    },
  }),
});

export default author;
Here, the most interesting part is probably id where we return Buffer.from(`author-${obj.id}`).toString('base64').
The schema is very simple for now. It contains just one query where we return a specific Author. The author query is in src/schema/queries/author.ts:
import { GraphQLID, GraphQLNonNull } from 'graphql';
import Context from '../../context/Context';
import { default as authorType } from '../types/author';

const author = {
  type: authorType,
  args: {
    id: {
      type: GraphQLNonNull(GraphQLID),
    },
  },
  resolve: (_, { id }, context: Context): Promise<any> => {
    return context.repositories.author.get(id);
  },
};

export default author;
The only remaining step to complete the schema is src/schema/index.ts:
import { GraphQLSchema, GraphQLObjectType } from 'graphql';
import author from './queries/author';

const query = new GraphQLObjectType({
  name: 'Query',
  fields: (): any => ({
    author,
  }),
});

export default new GraphQLSchema({
  query,
});
Express and GraphQL route
In src/index.ts we just connect all those things together and make it accessible through a /graphql route:
import express from 'express';
import graphqlHTTP from 'express-graphql';
import config from './config';
import context from './context';
import schema from './schema';

const app = express();

app.use(express.json());
app.use(express.urlencoded({ extended: true }));

app.use('/graphql', graphqlHTTP({
  context,
  graphiql: {
    defaultQuery: config.defaultQuery,
  } as undefined,
  schema,
}));

app.listen(config.port, () => {
  console.log(`Server started at http://localhost:${ config.port }`);
});
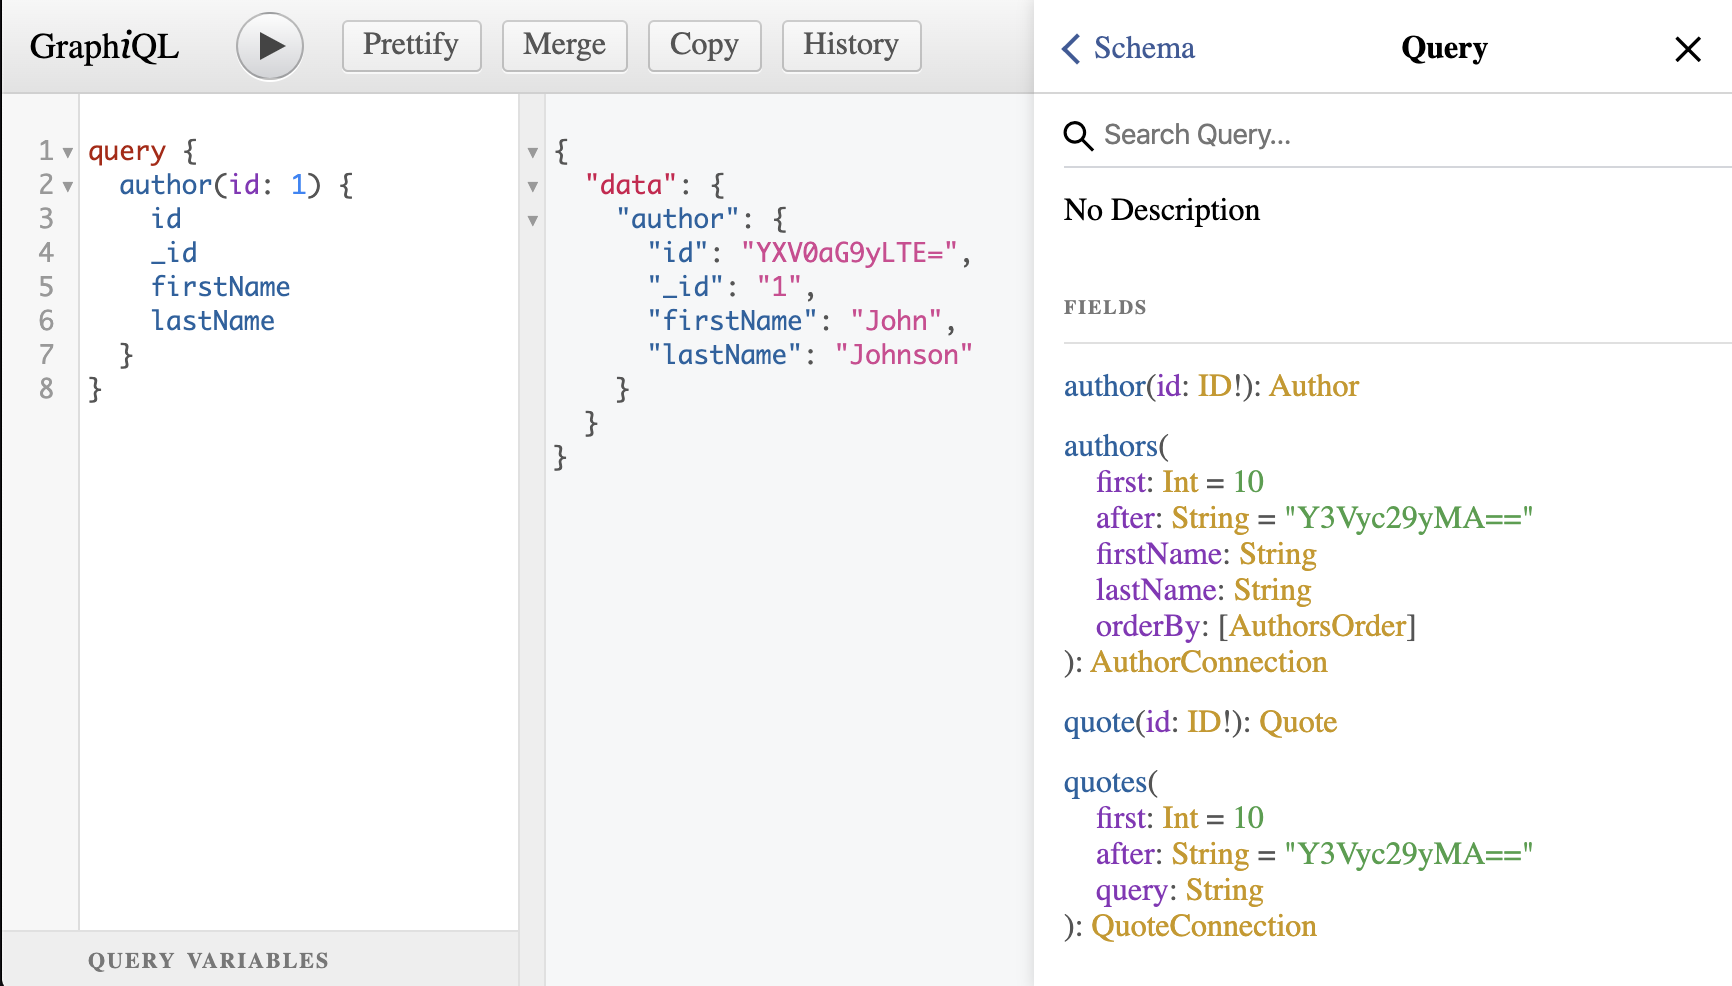
Try it
If you run the server with yarn start you should be able to visit http://localhost:3010/graphql, where you can find GraphiQL client. Through this, you are able to explore the options of the server - what queries are available and what they return. If you have also mutations or subscriptions, you can see it there too.
Do you like this post? Is it helpful? I am always learning and trying new technologies, processes and approaches. When I struggle with something and finally manage to solve it, I share my experience. If you want to support me, please use button below. If you have any questions or comments, please reach me via email juffalow@juffalow.com.
I am also available as a mentor if you need help with your architecture, engineering team or if you are looking for an experienced person to validate your thoughts.